Unleashing Democracy: A Comprehensive Guide to Every Difficulty Level in Helldivers 2


Popular Now
 God of War Ragnarök
 R.E.P.O
PUBG Mobile
R.E.P.O
PUBG Mobile
 Free Fire Max
Counter-Strike 2
Free Fire Max
Counter-Strike 2
 Geometry Dash
 Auto X Drift Racing 3
 Sonic the Hedgehog™ Classic
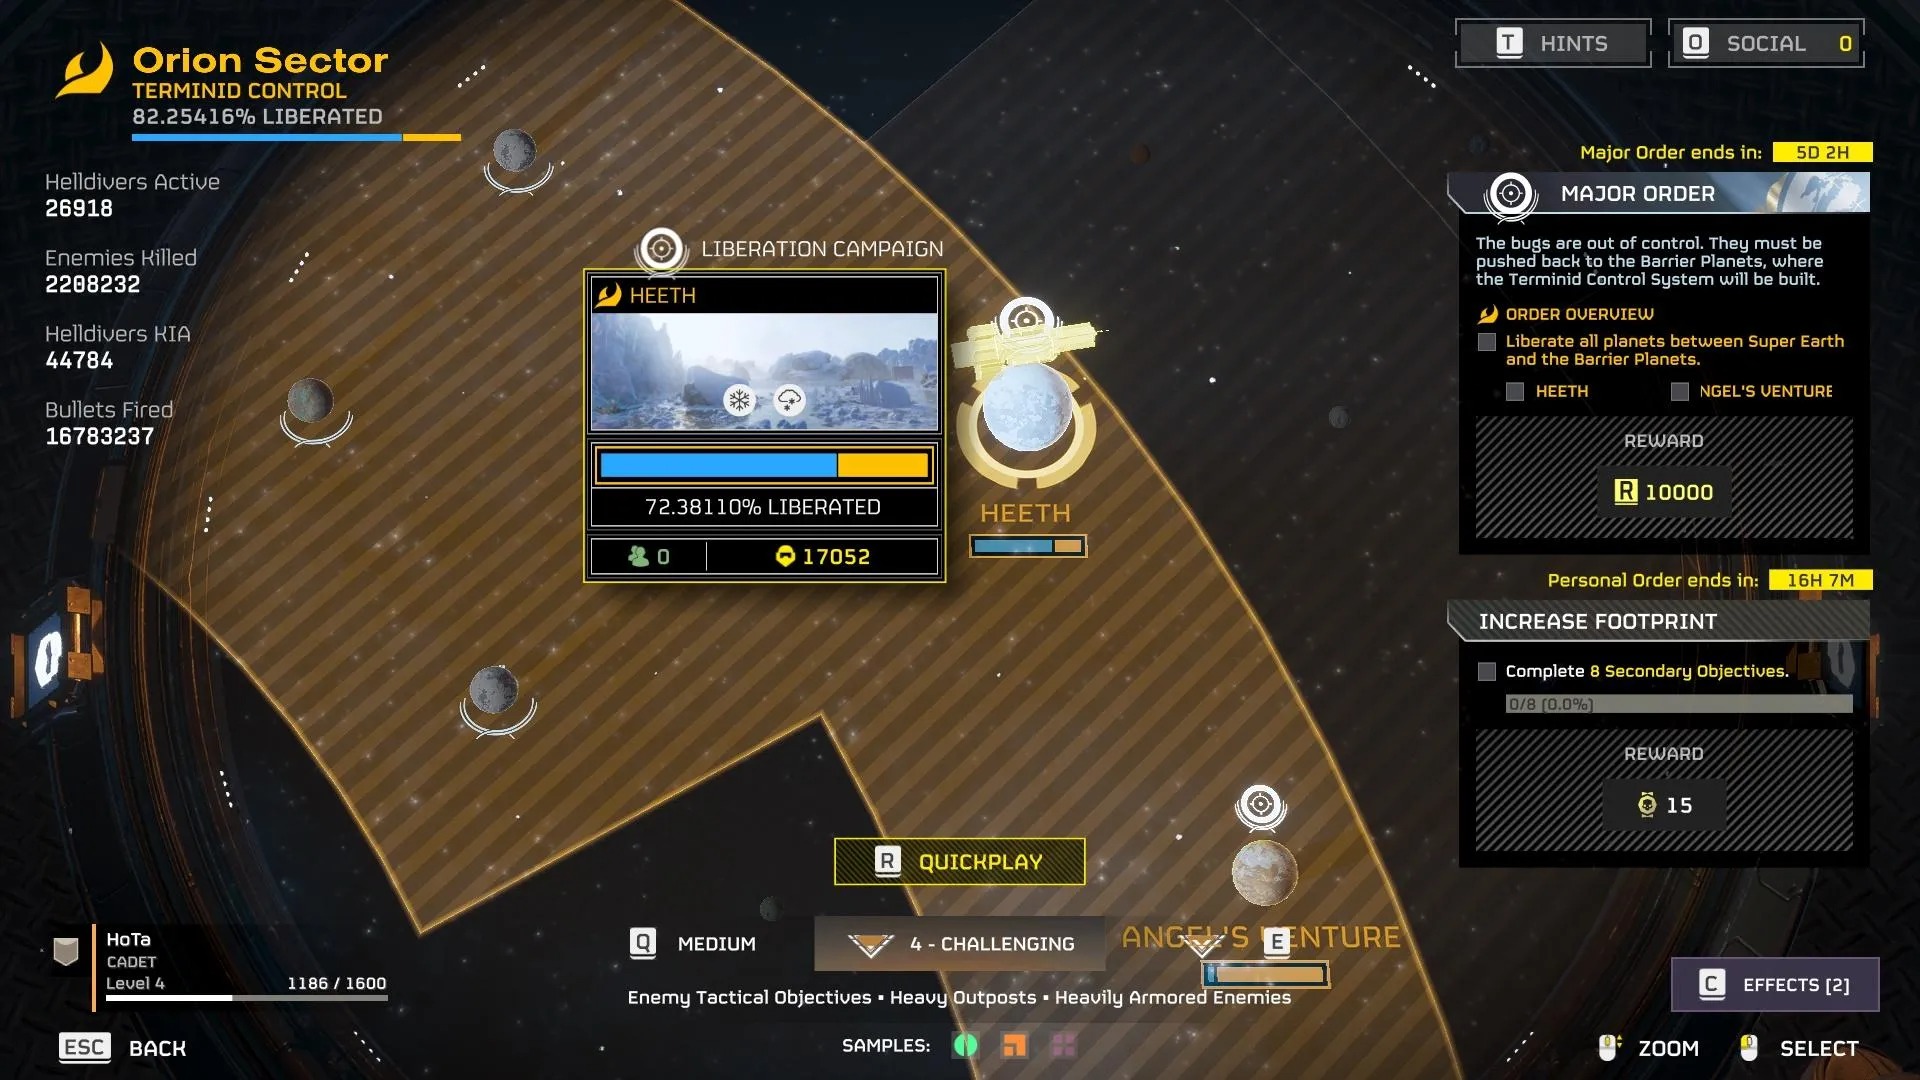
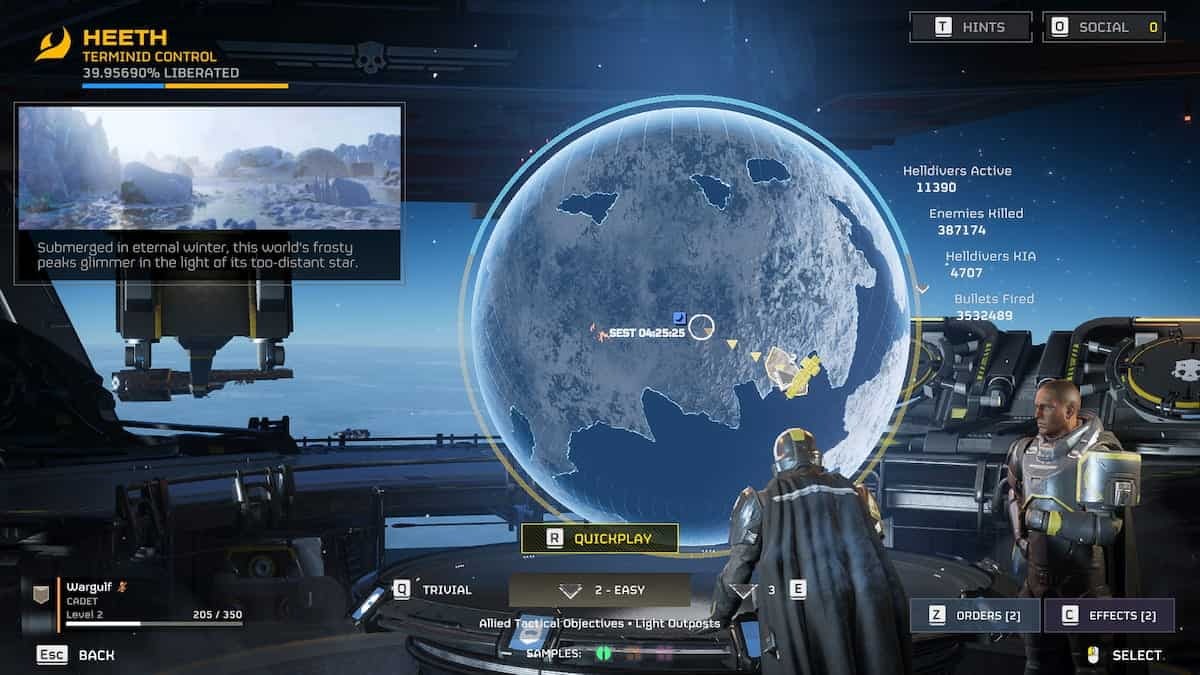
In the name of Super Earth, every Helldiver is called upon to spread managed democracy across the galaxy. But the path to victory is fraught with peril, and the difficulty of your mission can make the difference between a glorious triumph and a gruesome demise. Helldivers 2 features a dynamic and escalating difficulty system, with nine distinct tiers that dramatically alter the gameplay experience. Unlike many games where higher difficulties simply mean enemies have more health or deal more damage, Helldivers 2 scales its challenge by changing the fundamental nature of the mission itself. Understanding these changes is crucial for success and for unlocking the best rewards the game has to offer.
Here, we break down every difficulty level in Helldivers 2, from the humble beginnings of Trivial to the ultimate test of skill in Helldive. This guide will help you understand what to expect at each tier, allowing you to prepare your squad and loadout for maximum efficiency and survival.
 The Foundational Tiers (Trivial, Easy, Medium)
 The Foundational Tiers (Trivial, Easy, Medium)
These initial difficulties are designed to ease new recruits into the flow of combat and introduce them to the core mechanics of Helldivers 2. While seemingly simple, they are essential for earning the early-game Medals and Common Samples needed to unlock Stratagems and Ship Modules.
- Trivial (1)The starting point for every new Helldiver. Missions are short, enemy patrols are sparse, and objectives are straightforward. This is your training ground to learn the basics of movement, shooting, and calling in Stratagems.
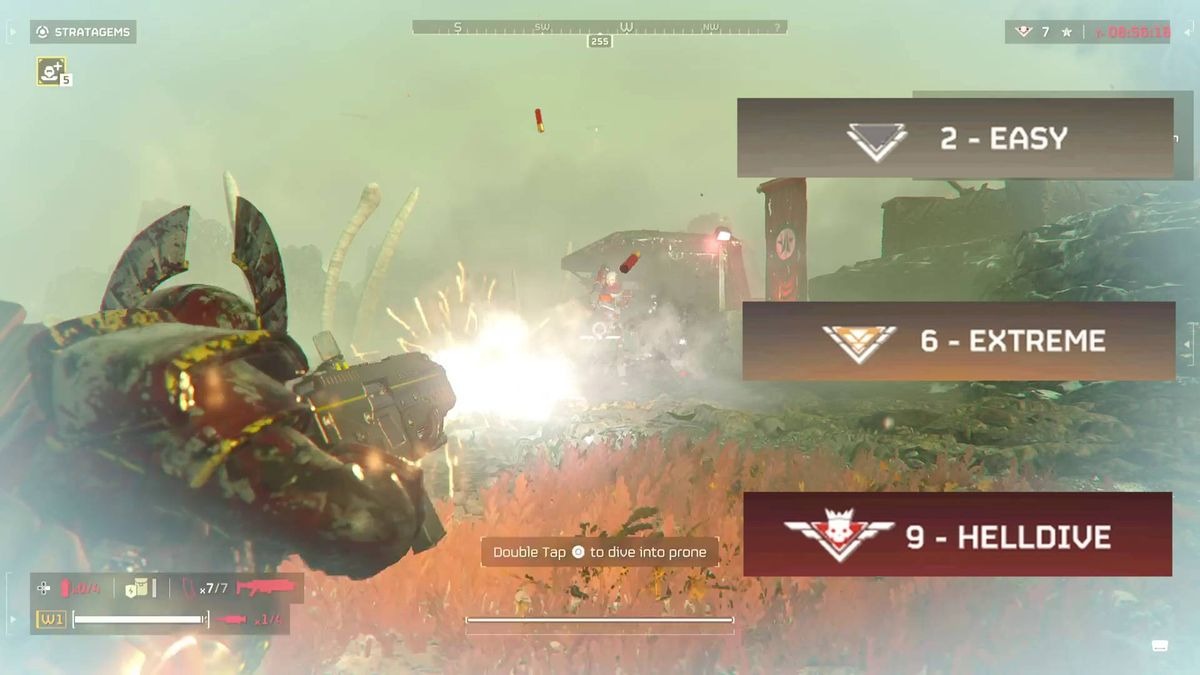
- Easy (2)A small step up that introduces Allied Tactical Objectives, optional tasks that can provide extra support or rewards. Enemy patrols and light outposts begin to appear, requiring you to think about how to approach enemy fortifications.
- Medium (3)This is where the training wheels start to come off. Missions increase to two objectives, and you’ll begin to encounter heavily armored enemies for the first time. The game introduces Medium Outposts and a permanent optional tactical objective on your map. This tier is a good test of whether your team is ready to coordinate and take on tougher threats.
The Challenging Ascent (Challenging, Hard, Extreme)
 The Challenging Ascent (Challenging, Hard, Extreme)
The mid-tier difficulties represent a significant jump in complexity and are where true teamwork becomes a necessity. Here, the game begins to throw more enemy types and new mechanics at you, pushing you to refine your strategy and communication.
- Challenging (4)This is the first tier where solo play becomes noticeably harder. Enemy density increases, and you’ll encounter a variety of heavily armored enemies. This difficulty also introduces Enemy Tactical Objectives, such as Spore Spewers or cannons, which require a coordinated effort to neutralize. This is also the tier where Rare Samples begin to appear, which are vital for upgrading your ship.
- Hard (5)Another steep climb. Hard introduces Operation Modifiers, which are random effects that can change the way you play, such as increased Stratagem cooldowns or a dense fog that limits visibility. You’ll also start seeing the largest, most formidable enemies like Bile Titans and Hulks, requiring you to bring dedicated anti-armor weaponry.
- Extreme (6)Extreme difficulty is all about efficiency. While it doesn’t introduce many new enemy types, the number of enemies, patrols, and objectives increases dramatically. Missions become a race against time, with constant pressure from all sides. This tier is where Super Samples, the rarest and most valuable resource, can first be found, which are essential for unlocking the final ship modules.
The Helldiver’s Gauntlet (Suicide Mission, Impossible, Helldive)
These are the ultimate tests of skill, a true proving ground for the most dedicated Helldivers. Success at these levels requires not only a perfect loadout but also flawless coordination, quick decision-making, and a deep understanding of game mechanics. Enemy patrols are relentless, and every mistake is punished with extreme prejudice.
- Suicide Mission (7)The name says it all. Enemy patrols are dense and aggressive, and a major spike in difficulty. This is the first tier where you’ll encounter Super Samples. The game introduces new, advanced enemy types like Factory Striders and Barrager Tanks, forcing you to use every tool at your disposal to survive.
- Impossible (8)This tier adds a second Operation Modifier, further complicating every mission. Enemy density and the number of objectives reach a fever pitch, making it feel like a non-stop battle. Squad synergy and specialized loadouts become paramount, and communication is key to avoiding an early extraction.
- Helldive (9)The pinnacle of difficulty in Helldivers 2. The enemy presence is overwhelming, with constant reinforcements and a high density of elite units. This is a brutal, chaotic, and immensely rewarding experience. Success on Helldive is a badge of honor, a testament to a squad’s ability to overcome seemingly insurmountable odds in the name of liberty.
Ultimately, the difficulty you choose should be based on your squad’s experience and what you’re trying to achieve. While the higher difficulties offer better rewards, including more Medals and Samples, they also demand a level of teamwork and skill that only comes from experience. Progressing through the tiers is a journey in itself, a constant challenge to improve your skills and serve Super Earth with distinction.